In the primary series, Intro to Joomla, I explained how to install Joomla locally using XAMPP. In this guide, we’ll do the same thing, but with Laragon, an alternative to XAMPP with similar features.
Like XAMPP, Laragon is a bundled solution for web developers containing Apache, PHP, and database software. It has everything you need to install and run Joomla locally, with your PC acting as your development server.
Why Laragon (Over XAMPP)
XAMPP and Laragon both achieve the same thing – they get a local web server up and running with full support for PHP/SQL-powered applications.
They’re both free and easy to install. They both include GUI-based tools to make configuration easy.
Key Differences
- Laragon is Windows only, to my knowledge. XAMPP has versions for Mac and Linux.
- Laragon is maintained by a solo developer (with some other contributors) – so there’s less of a track record and it may be harder to find specific support. It also might not receive as many updates or be supported forever.
- Laragon uses MySQL by default instead of MariaDB. Functionally, this makes no difference for us using Joomla.
- Laragon includes 1-click tools to change the PHP version, which I find helpful for testing
- Largon modifies hosts file and automatically creates “dot.test” domains for your projects, which I like
- Laragon makes it very easy to install Nginx server and Memcached, which helps with performance and allows you to test your site out in an environment more similar to what you’ll likely be running the production version on
- Laragon includes a copy of HeidiSQL Portable to manage the database. XAMPP includes PHPMyAdmin.
- HeidiSQL is desktop software and PHPMyAdmin runs in the browser.
- I find HeidiSQL to be the faster option with better database visualization tools
- You could use PHPMyAdmin with Laragon or HeidiSQL with XAMPP if you wanted to. These are just what’s included. And I prefer the option Laragon includes.
- Laragon includes a Gmail-based mail sender option, which makes sending test emails a breeze.
- Ability to use “quick apps” function which will automatically download and extract a package for you (like WordPress or a custom-defined CMS).
As of this writing, Laragon is on version 6.0, released a full year ago, in September 2022. This was a little concerning, but the developers recently posted an update, stating they’re still very much interested in keeping this project alive. They also revived their somewhat dead-looking website with more content and news! So I hope to see more from them in the future.
You may read more about what features Laragon offers on their official website.
Ultimately, I chose Laragon because I like the included tools a little better and I wanted to try something different after fifteen years. Ultimately, it’s personal preference. If XAMPP is working fine for you, and none of the above differences matter to you, then just stick with XAMPP. Otherwise, let’s continue.
While you can install XAMPP and Laragon together, I wouldn’t recommend it unless you know what you’re doing. You’ll have to change ports for all the services and remember what’s running when, or switch between the two – only running one set at a time. This adds complexity. Therefore, if you plan on using Laragon, I would recommend you uninstall XAMPP (or any other combination of web server software) if you’re already using it. Of course, remember to back up your existing projects and databases if you’re uninstalling.
If you just want to test Laragon without uninstalling XAMPP, you can stop all your existing XAMPP services and run Laragon. Then, if you like it, you can make the switch. More detailed info on switching from XAMPP can be found on Laragon’s website.
Installing Laragon
Visit their repo on GitHub and find the latest release (laragon-wamp.exe).
Then, install Laragon as you would any other Windows application. Open the executable and step through the process.
There are only 4 significant options during the install process. First, select where you want to install Laragon. Your server root will be located under this folder. So if you use the default “C:/laragon” as your installation – your apache root would be “C:/laragon/www” (if you used XAMPP, www folder is equivalent to htdocs). I would not recommend installing Laragon in program files or similar. It should probably be in the root folder of a drive.
The options after install location are pretty straightforward.
- Run Laragon… I like to run Laragon automatically. Unless you’re using a very old or low-resource system (like, with 4GB of RAM or less), I would leave the first box checked.
- Pretty URLS… This does what it says it does.
- All first-level subdirectories of Laragon’s www folder are added to the Windows hosts file as “subdirectory.test”
- So if I install Joomla in the folder… C:/laragon/www/joomla – Laragon edits hosts so http://joomla.test takes me to localhost/joomla
- It looks pretty and behaves more like a real website
- Quick ways… This just adds a shortcut to terminal and Notepad++ text editor. It’s optional. You can change your mind later. I don’t use it but it’s not really bothering me either, so I just leave it on.
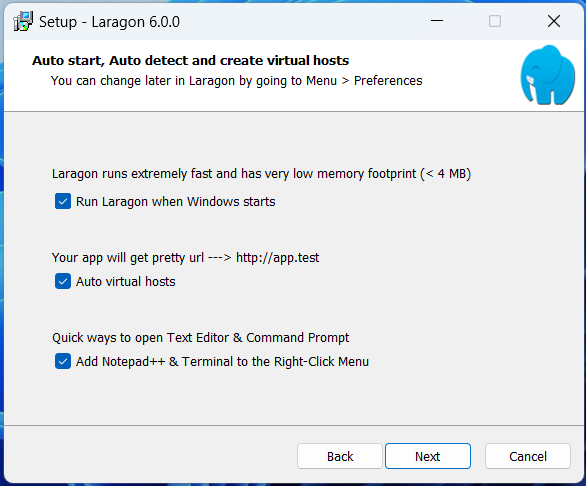
Continue through the process and wait for Laragon to finish installing. You may need to restart your computer after installing.
Run Laragon
You might need to manually run Laragon the first time if you don’t see Laragon in your system tray. It looks like a blue square, or a green play button in the system tray, depending on if the services are running or not. If you see this icon, you can open Laragon by clicking it.
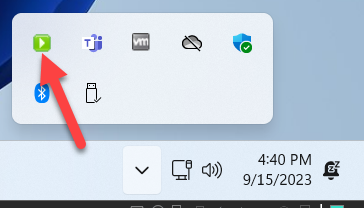
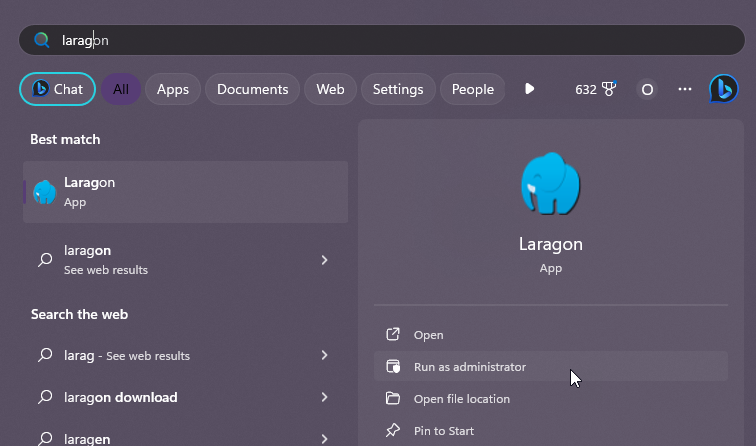
If you don’t see the icon, just run Laragon with the shortcut on your desktop or from the start menu. I would suggest you run it as an Administrator the first time.
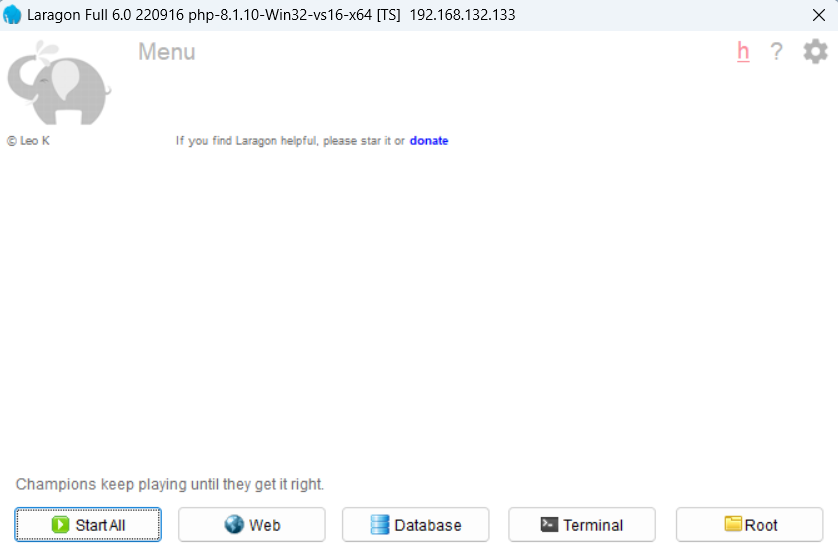
By now, Laragon should be open. You’ll likely be looking at an empty dashboard.
Click the green “Start all” button to start Apache and MySQL.
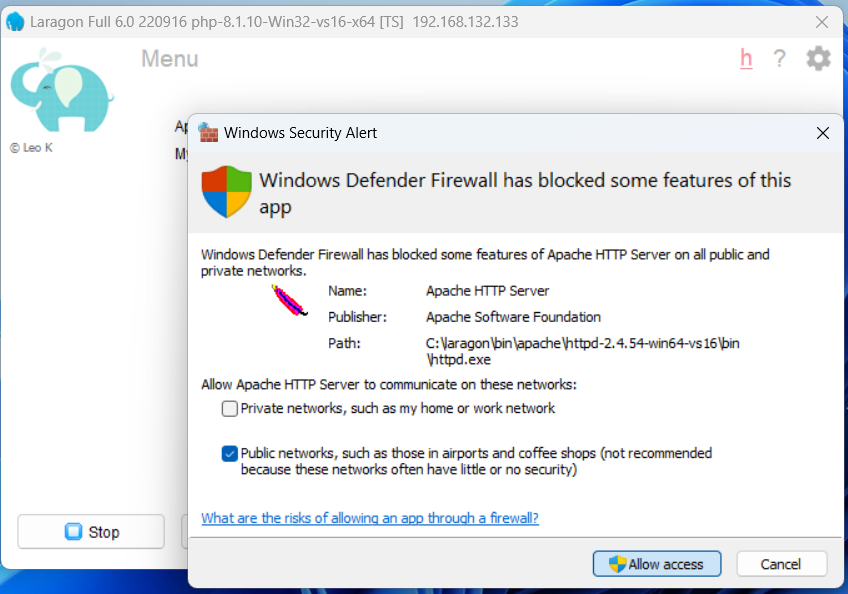
If you’re using a firewall as you should be, it will probably ask you to grant access to Apache and MySQL now. Allow these services. I’m using Windows Firewall, so I just click allow for each service.
If you’re not using Windows Firewall, click allow in whatever Firewall app you’re using.
If you don’t see any of these messages, feel free to continue and see if the server works without explicitly allowing access. If you run into issues down the road, remember this and figure out how to manually allow the programs through whatever firewall you’re using.
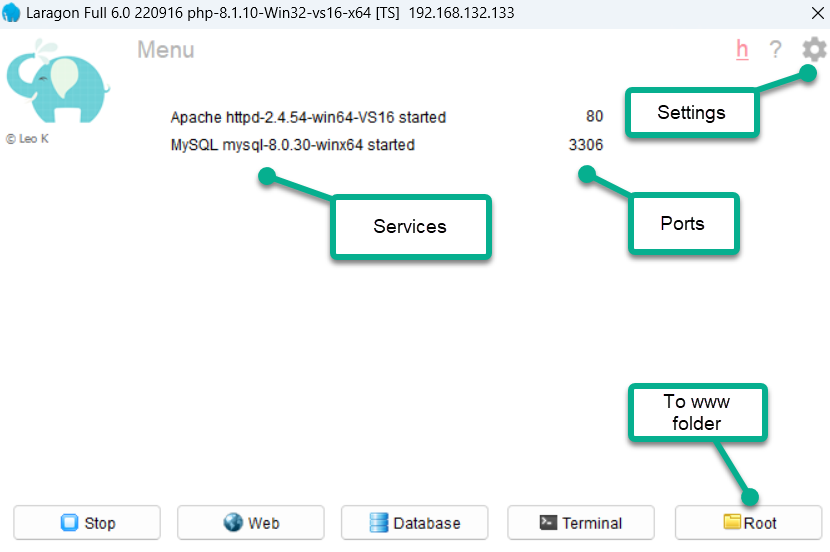
Take a moment to familiarize yourself with the dash.
If you see Apache and MySQL listed, that means the server is running.
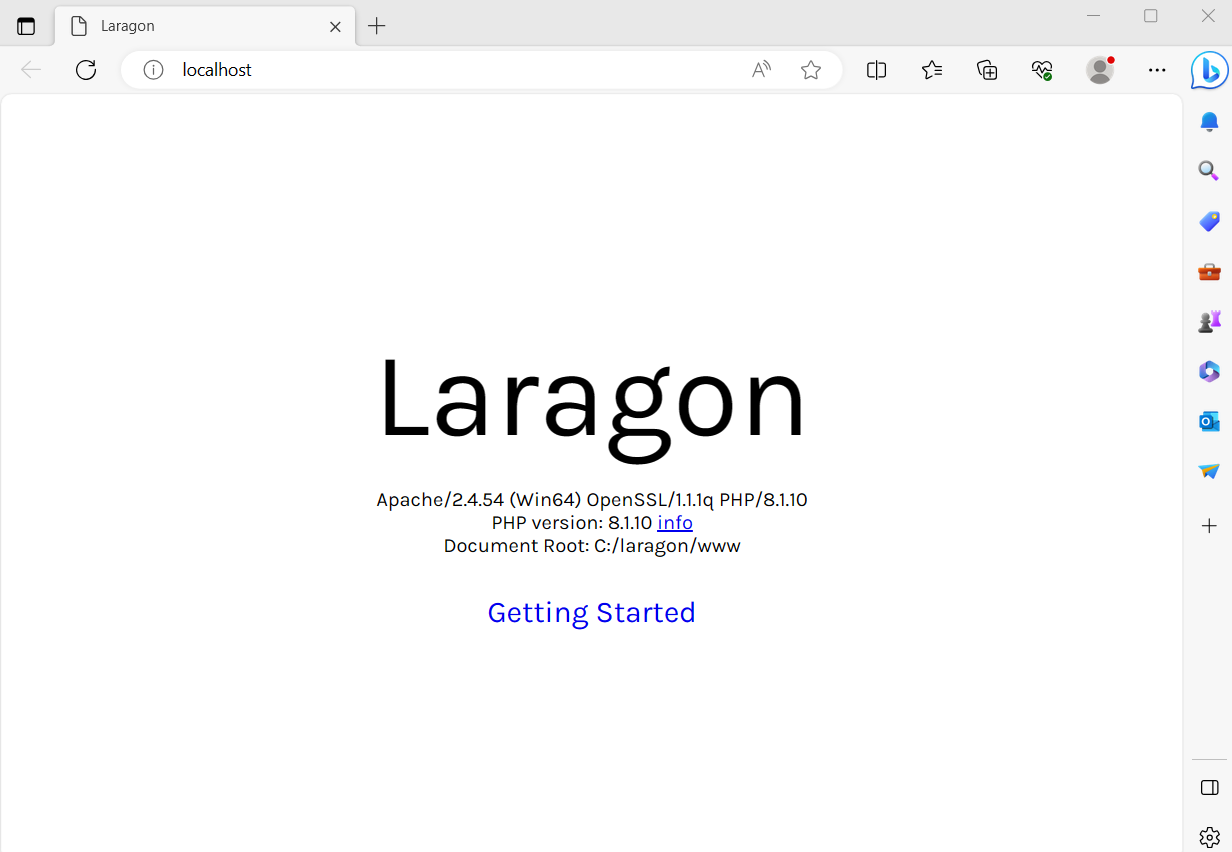
Click the “Web” button to open localhost in your browser.
It should look like the accompanying screenshot.
Now let’s return to the Laragon dash.
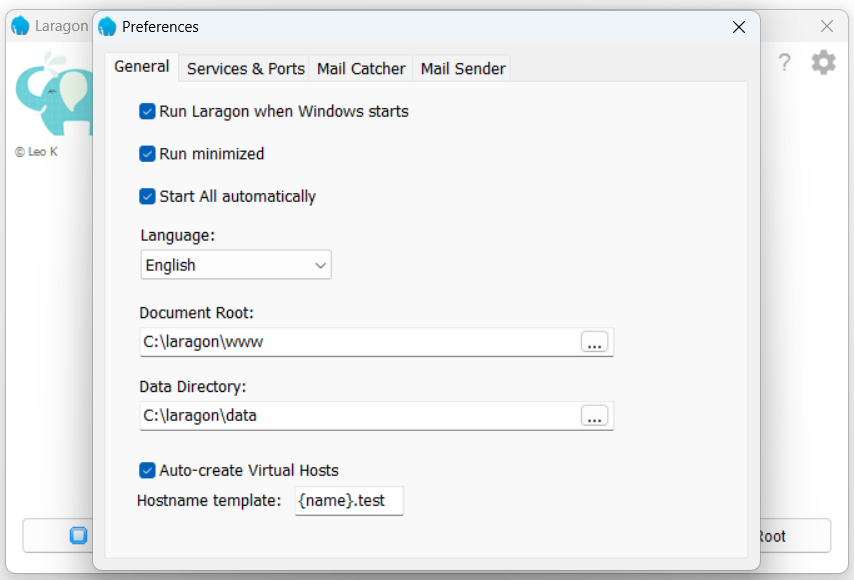
Open Laragon’s settings by clicking the little gear in the top right.
The “General” tab shows some of the more essential options. I prefer to have the first three boxes checked, so Laragon starts automatically, runs minimized (doesn’t open dash every time I turn on PC), and starts all the services (Apache and MySql).
You can change the document root if you want, but I like using the default www folder.
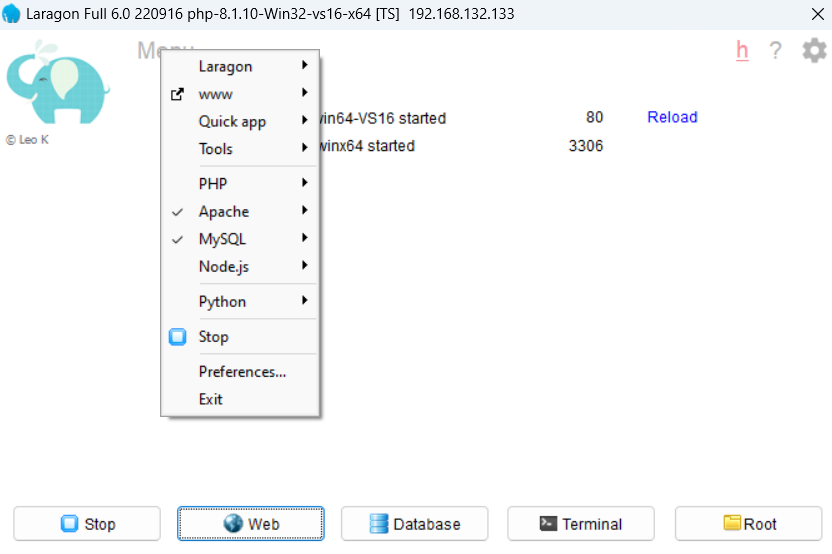
The last thing I want to mention is where you find most of Laragon’s other features. They’re easy enough to access, but maybe not super apparent at first. You can right-click anywhere in Laragon’s application window, or on the icon in the system tray. There’s also a gray-looking “Menu” text near the top which opens this menu (it doesn’t look like a button or a menu bar, so I wanted to point it out).
This brings up Laragon’s full menu of advanced options. I’m not going to go into any of these now, but if you’re looking for something in the future, check here.
Installing Joomla
With Laragon ready to go, we can finally get to installing Joomla. Installers might look slightly different if you’re using Joomla 4 or 5, but the steps remain the same.
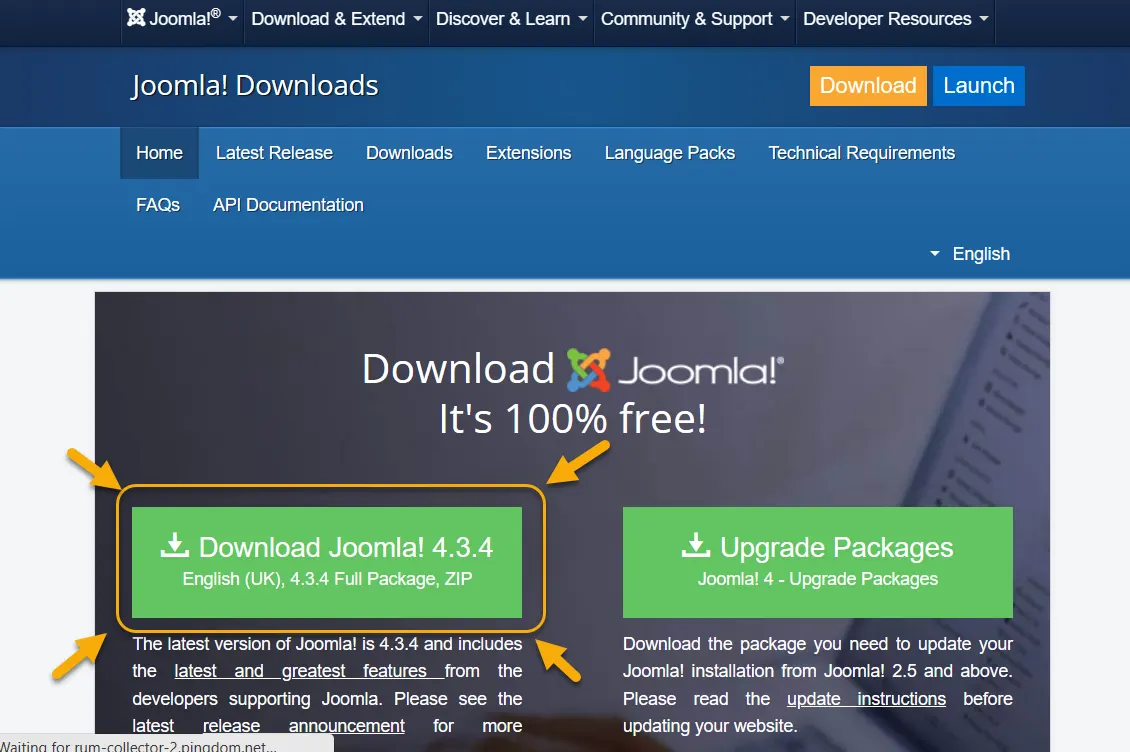
Go to https://joomla.org and download the latest full stable release of Joomla. It should be a zip file.
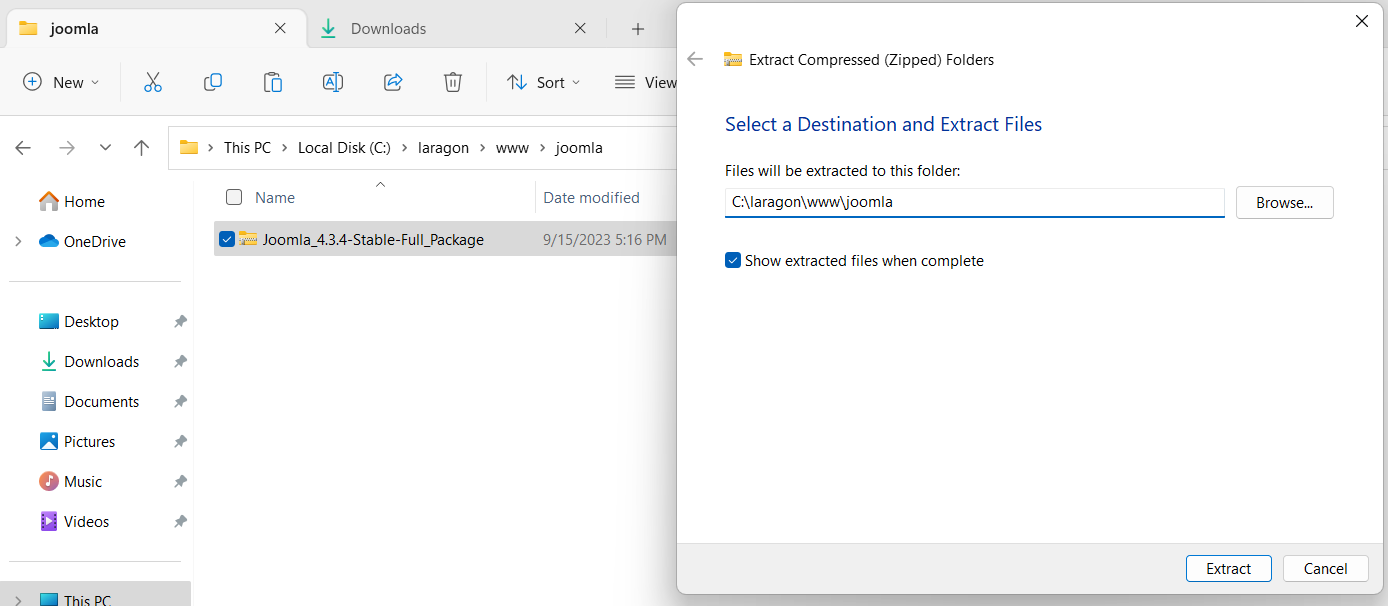
Go to the document root of your server (www folder) and create a new folder called “joomla” or whatever the name of your site will be. Don’t use any spaces in the folder name.
Extract the contents of the Joomla zip file into this folder. There are thousands of files, so I recommend using something like 7-zip if you have it. On my system, 7-zip reduces the extraction time from about 5 minutes down to under 20 seconds. In fact, you can download, install 7-zip (only 1.5MB in size), and extract Joomla with 7-zip in less time than it takes to use Window’s zip extraction tool.
Otherwise, you can right click and extract with Windows in a pinch. But Windows is an order of magnitude slower.
Make sure the files end up in your new folder’s root. Not in another subdirectory. In my example, I want the files extracted to “C:\laragon\www\joomla” and NOT “C:\laragon\www\joomla\Joomla_4.3.2..”
You can delete the zip file when you’re done.
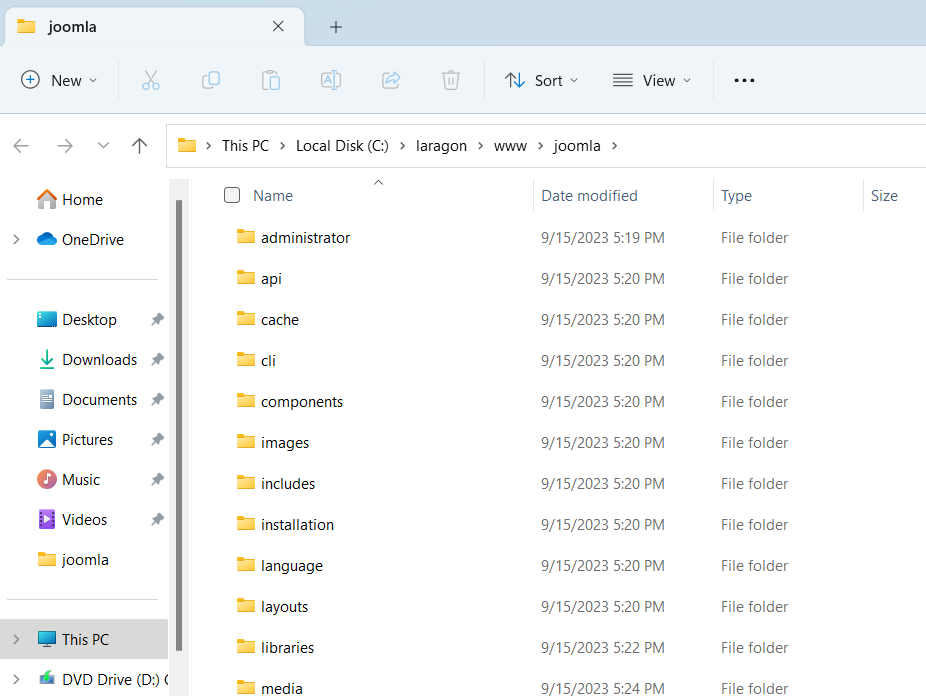
Your joomla folder should look something like this when extracted.
It’s finally time to open the Joomla installer!
If you’re using pretty urls (.test urls) you will want to restart Apache. Open the Laragon dashboard and click the blue “Reload” button next to Apache. You should be able to go to “joomla.test” (or whatever subdirectory you used dot test) in your web browser to get to the installer.
If you’re not using pretty urls, you can get to the installer by going to localhost/joomla (or your directory name) in the browser.
If restarting Apache didn’t make “joomla.test” work – make sure url host rewriting is on in Laragon’s settings and reload Apache again. If that still doesn’t fix it, just go to “localhost/joomla” instead. It shouldn’t really make a difference.
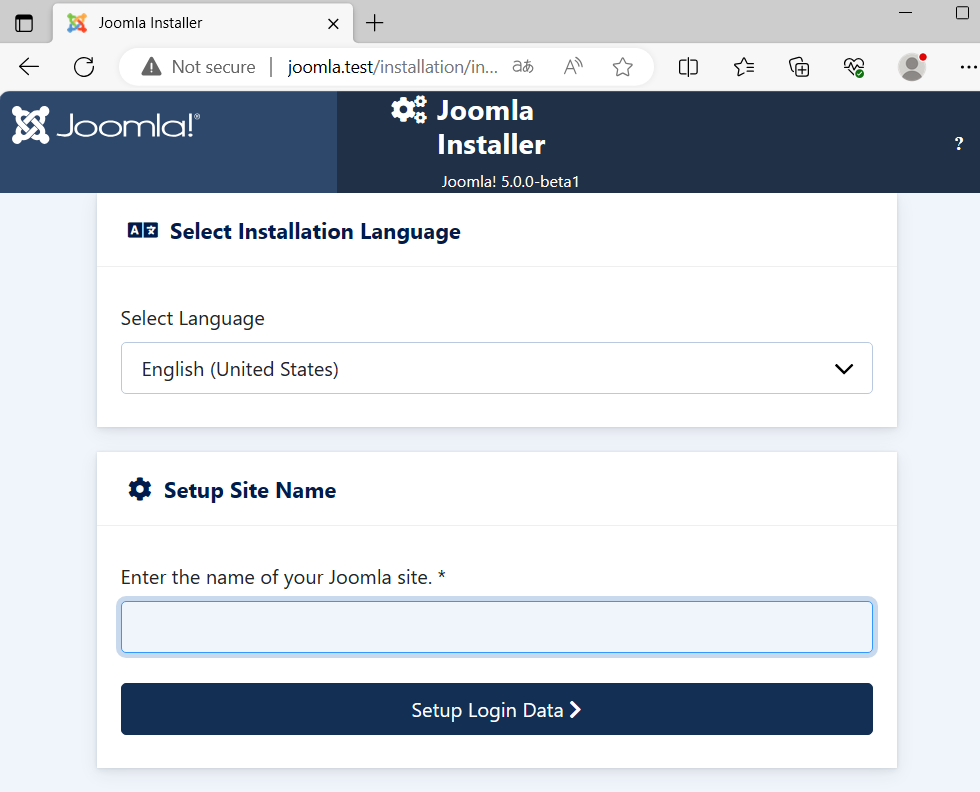
Now, you should be able to see the installer (pictured).
Give your site a name and click the “Setup…” button.
Create the super user account for your Joomla site. This is the highest ranking user in the system! Make sure you meet the password requirements.
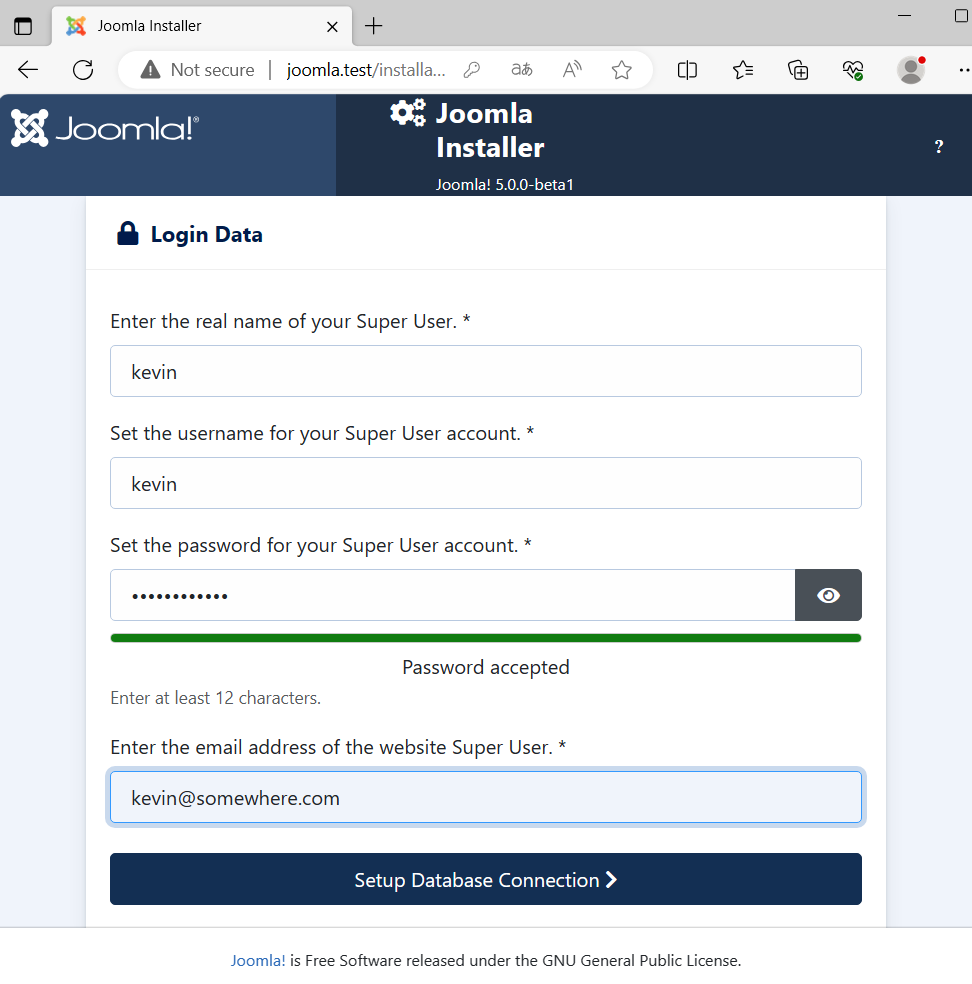
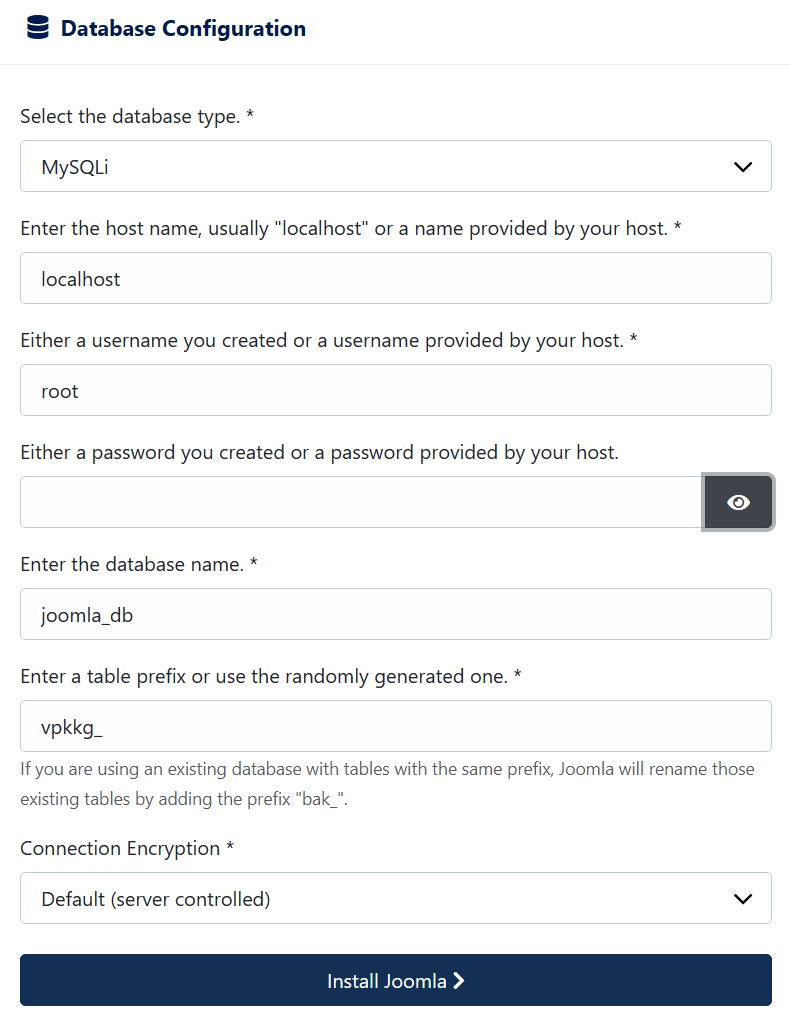
Enter your database login info as shown. Unless you know you went in and changed your MySQL database settings, your MySQL host is “localhost” – your computer. Your username is “root” and the password is empty. These are the default settings.
You may change the name of the database if you want it to match your site’s name. Otherwise, joomla_db is fine.
Once you have everything set up, click the install button.
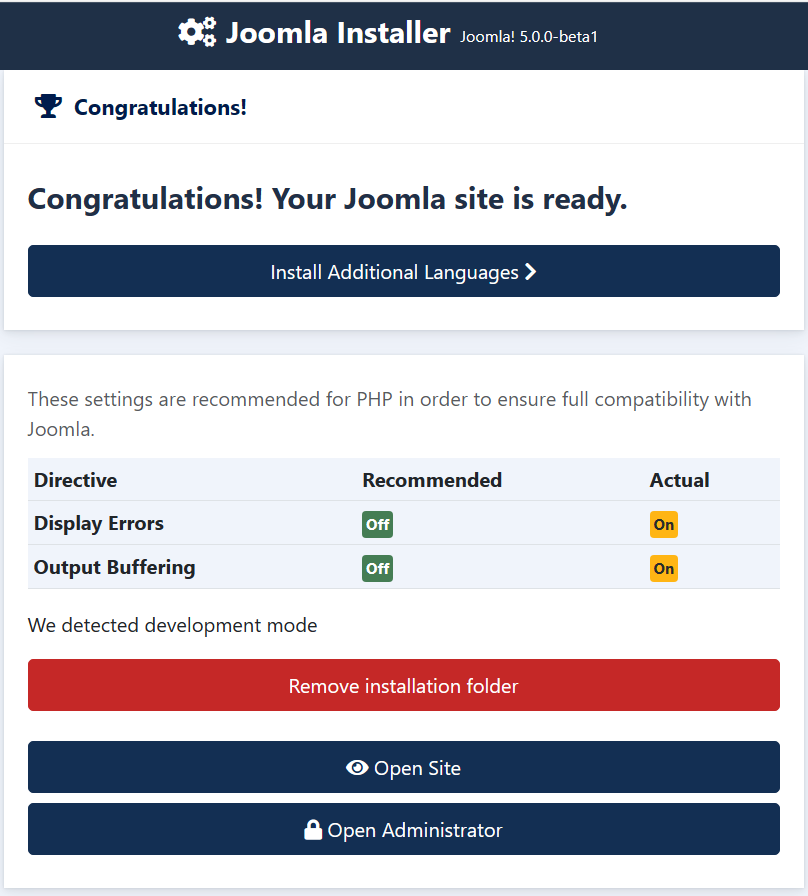
A progress bar will appear indicating Joomla’s being installed. Then you should see a success message.
If you see this, you’re done installing Joomla with Laragon! You need to do one last thing – delete the installation folder at “C:\laragon\www\joomla\installation” (or wherever you installed Joomla).
I find that the red delete button never works in Windows – (but it does work on most actual web hosts and Linux). So you will probably have to manually delete it in file explorer.
Once it’s deleted, you can view your site’s front end at joomla.test, or the admin from joomla.test/administrator
If you came here from the Intro to Joomla series, or want to learn more about using your new Joomla install, you’re now ready to begin reading Chapter 3: Administrator Essentials.