In this chapter, you will learn about how to install and configure templates in Joomla. You’ll also learn more about the module manager and module positions.
Templates
A template dictates the overall look and feel of your website. The layout, colors, logos, background images, typography, and more is all set by the template you select.
There are dozens of free, and hundreds of paid Joomla 4 templates available. Unfortunately, Joomla.org does not maintain a collection of templates like they do with extensions. To find them, you’ll have search for them yourself.
Templates can almost always be customized to suit the needs of your website. The individual settings will vary depending on the template itself. At the very least, most templates give you options to set a logo image and color scheme. Some templates, usually commercial ones, may contain dozens of different options, allowing you to really individualize the template to suit your website’s needs.
Once a template is installed, you configure its settings by changing the template style options. You can have multiple configurations for a single template under different styles. For example, you could make your home page background blue with one template style, and your contact us page green with another template style. Both pages would still be using the same template – but with different style settings selected. Your website must have at least one template style set to default – the template style that is displayed if nothing else is chosen.
As a general rule, for a consistent user experience, I’d recommend sticking with just one template style and keeping it the default – so all your pages have a consistent look and feel. You don’t want your users to be confused by using different templates on each page of the website.
Template Manager
You can navigate to the template manager by clicking “System” and then “Site Templates” under the “Templates” section.
The template manager will show you a list of all the templates you have installed on your website. If you click the template itself, you will see a brief description of the template, along with some developer tools. You shouldn’t need to make any changes here unless you’re a template designer. Stay out of these settings for now.
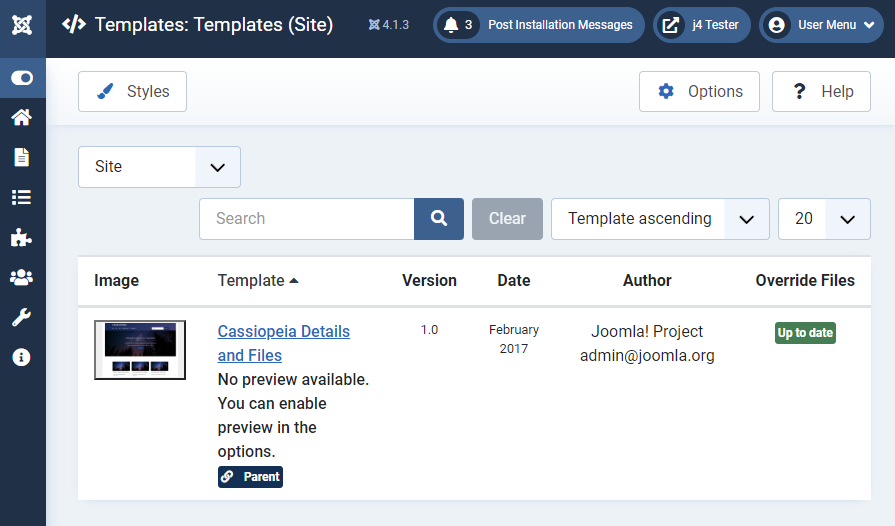
Template Styles Management
To change the actual style settings of the template, we need to go to the template styles page. Click “Styles” from the template manager, or select “Site Template Styles” from the “System” page of the admin panel.
From the Site Template Styles page, you can view all the template styles your website has. The default style is marked with a golden star.
Cassiopeia is the default template in Joomla, and it comes with one default style set up. Click the template style to make changes.

Cassiopeia Style Settings
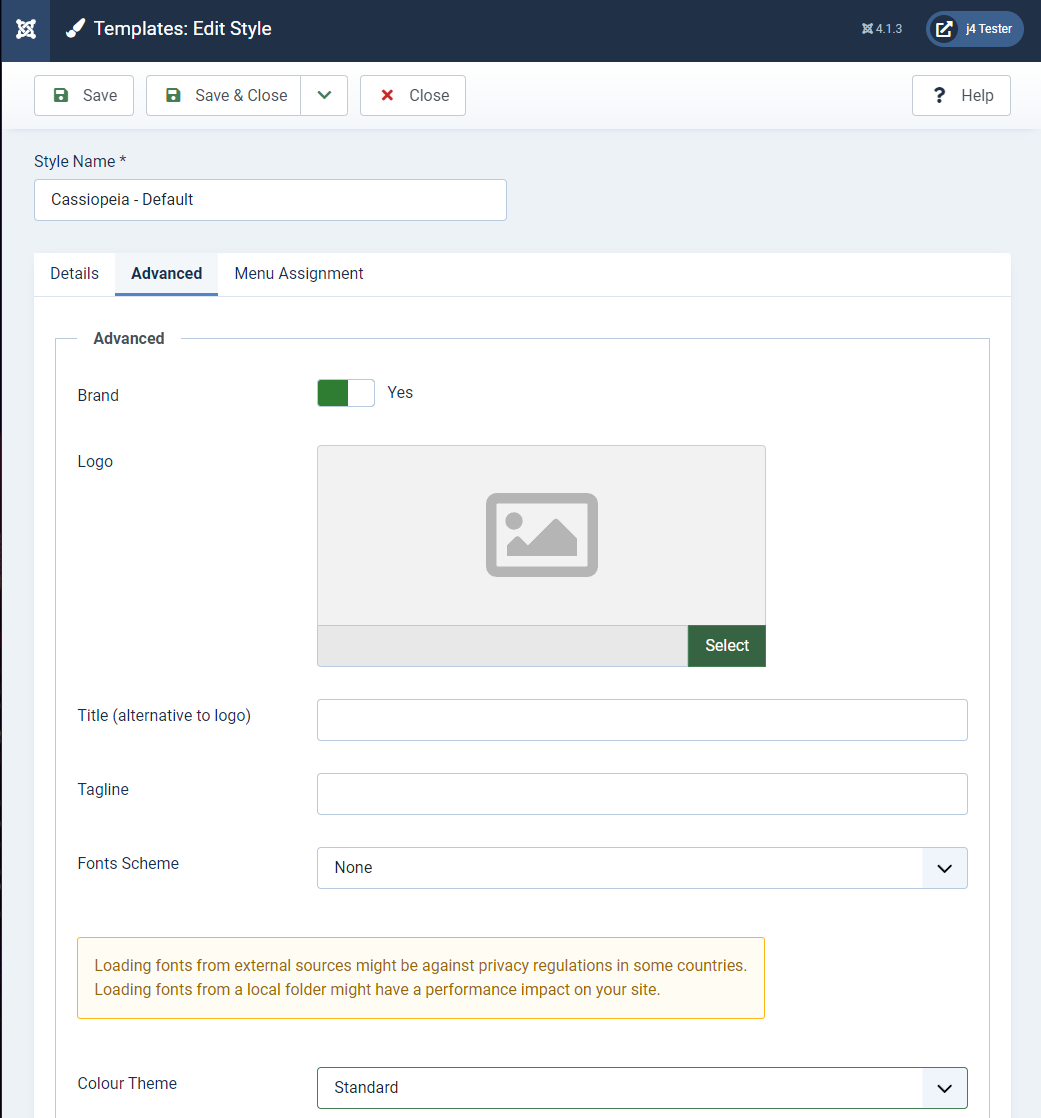
If you click the default style from the site template styles page, you will see the settings currently being used on your website. There’s nothing on the first tab for Cassiopeia. The second tab contains configuration options. Keep in mind, if you’re using a different template, these settings may be entirely different. The settings on this page are added by whomever created the template, so they vary by template.
Most premium templates have much more involved settings options than this.
For Cassiopeia, the settings allow you to set a logo, change the fonts, and select from one of two color options (boringly named “Standard” and “Alternative”).
Cassiopeia is a fairly simple template, without a lot of configuration options. You may experiment with the settings if you’d like and refresh the front end of your website to see the changes.
I set my layout to “Fluid”, made the header “sticky” (floats on top of the page when you scroll down), and chose the “Alternative” color scheme, just to see what it does.
In the sample images below, I installed the “Blog Sample Content” to my website and previewed the template before and after making the above changes.


As you can see, before the template has a dark blue theme, and its contents are restricted to a more narrow layout (static layout). After changing the style settings, the template has widened to take up all the space on my screen (fluid layout) and the color scheme has changed from dark blue to a dark red/maroon color.
If you need more color options than red or dark blue, as you likely will, you will have to find a different template to use. Cassiopeia is more of an example template than one meant for production websites, though you certainly could use it for that if it suits your needs. There’s nothing wrong with Cassiopeia, per se, but I find it to be rather boring. I only use it on my test sites.
You could also customize the template style settings manually, but this requires knowledge of HTML and CSS, which is beyond the scope of this series.
Modules and Positions
Pages and layouts in Joomla have three key pieces: Content, Modules, and Templates.
The article, page, or component you’re currently viewing makes up the main content area of the page. Usually this is in the center.
The little blocks of information, gadgets, login forms, menus, search boxes, etc. spread throughout the page are modules.
Modules can be changed in the module manager, found in the administration menu under “Content” – “Site Modules.”
Here, you can view a list of all the modules being displayed on your website. Modules can be assigned to certain menu items and access groups if needed.
Each module has a module position and an order. The module position dictates what part of the template the module appears in. The order dictates the order of the module in that position. For example, if two modules are in the same position, one module may be ordered to appear in front of (usually left of or on top of) the other.
Module positions are template specific. The names of module positions may vary from template to template, depending on the names of module positions the developer chose. Some templates may have more positions available than others.

The screenshot of the “Site Modules” page above may differ from what you see, depending on how your site is set up. My site is currently using the Joomla Blog sample data, so it may have more modules than yours.
At a glance on this page, you can see the module titles, positions, and status. If they’re enabled, they’re turned on and will show up. If they’re disabled, they won’t be loaded.
Cassiopeia Module Positions
The different module positions associated with Cassiopeia are shown in the following screenshot.
If you are using a different template than Cassiopeia, reference the documentation provided by your chosen template’s authors. If no documentation was provided, you’ll just have to try out all the positions until you find the one you were searching for.
If module positions are designed for only one particular module type, the name of the position normally corresponds to the module that’s supposed to go there. For example, the search module goes in the search position. The main menu module goes in the menu position, and so on.
Adding/Configuring Modules
Now, we’re going to look at adding and configuring a new module. There are about a dozen different modules built into Joomla related to content and users. More modules can be installed as third party extensions. Modules exist for everything from shopping carts to displaying the weather.
To add a new module to your website, go to the “Site Modules” page and click the new button in the toolbar.
The next page that opens will allow you to add any of the installed modules to the website. It’s possible to have multiple modules of the same type display at the same time as well, as different modules may be configured with different settings.
For this example, I’m going to create a new custom module. Custom modules just display HTML. I’m going to create a message that says “This website is under development” and display it across all my sites pages. So select the “Custom” option.

Selecting this option opens up the page to configure the modules settings. All modules should have a title and a module position. The title may or may not be displayed along with the module in the front end (you can set this). I’ve given my module the title of “Notice” and filled in some text in the editor area. This is the message that will be displayed on the website.
If you are editing a different module here, the settings per that individual module type will be displayed. The settings in the main area of this page apply only to the custom module. The settings on the right side can be found in all modules.
By default, the module position is set to “None.” If it’s set to none, it won’t be displayed. I want to show this message above the content, so I’ve chosen the “main-top” option for my module position.

Note the other settings on this page as well:
- Title – Whether or not to show the title with the module on the front end. If I set this to “Hide” the word “Notice” will not show above the module on my website.
- Status – Published or Unpublished
- Whether or not this module is enabled
- Start/Finish Publishing
- If desired, you can select dates to start showing/hiding a module. For example, if you have a holiday sale going on, you could create a custom message and set it to only be promoted on specific dates.
- Access
- What permission levels may view this module. This relates to the topics discussed in the last chapter.
- Ordering
- The order this module appears in relation to other modules in the same module position. Note that not all module positions may work well with multiple modules, some positions may only be meant for one particular type of module.
When I save the module and reload my website, all the pages now have the message I wrote at the top of the content area.

Menu Assignment
The menu assignment page of a module’s settings sets what pages the module will appear on. You can have the module appear on all pages (default), or select only certain pages. For example, if I only want my message to show on the home page, I can select the home link from the main menu.

Advanced Settings
There are more settings on the “Options” tab and the “Advanced” tab of the module settings. We will not be talking about most of these. If you need to change these advanced settings, the makers of your site’s template will tell you what to put here.
The one setting you may need to know under the “Advanced” tab is the “Module Style” option. Module styles are specific to the template you’re using. Cassiopeia only has two styles – card and noCard. The default is “card”
If you select the card option, the module will show up on a card. It will have a border and a nicely formatted heading.

Note how the style with a card has a border and slight grey background behind the title. The noCard option does not have this styling.
Third party templates may have a wider variety of module styles to select from, allowing you greater control over the colors and borders of your modules.
You may occasionally see module styles referred to as module chromes.

Finding Third Party Templates
There are many locations to find third party templates online. Unfortunately, the selection of free templates for Joomla 4 is rather limited. Most available templates you find online are going to be paid templates. Prices typically range anywhere from $30 to $100, with the average template costing around $50.
Template Frameworks
Many templates require you to install a template “framework” in addition to the template itself. Most major Joomla development studios have a basic template framework that gets shared across all their templates. Then, each of their individual templates is built using features of that framework. It’s mostly behind-the-scenes stuff, but it is something you’ll likely encounter. If a template requires a framework to use, you’ll have to install it before you install the template, or it won’t work. Check the developer documentation for the individual template you select for details.
Some templates also include special modules, components, and plugins that you’re supposed to install alongside them in order to get the most functionality out of the template. A common module you’ll see is a slider of carousel module. These modules usually display a series of articles or images as part of an animated slideshow on the home page. Some templates may ask that you use a specific third-party menu module, as they have more advanced features and won’t work well with the default Joomla menu modules.
Considerations
When selecting your template, aside from general aesthetics, consider the following:
- Compatibility: Note that some templates have versions available for Joomla 3 and Joomla 4/5. Most do not. If the template doesn’t say it works with Joomla 4/5, don’t use it. It might install, but it won’t function. Only Joomla 4 and 5 templates are usually compatible with each other.
- Branding: Can this template be easily customized to fit with the brand identity, and colors that your website/business needs?
- Performance: Templates with a hundred bells and whistles may seem fancy, but be careful. You don’t want a template that has so much going on it results in your pages loading substantially slower. You also don’t want to overwhelm your users with features. Also, configuring the advanced features of a template may require more work on your part.
- Developer Support: Ensure the template has been updated fairly recently and that the developer is active. Don’t buy a template that was made a year ago from an unknown developer who hasn’t posted anything new in eight months – you will not get the support or updates you need in the future.
- Responsive Design: Make sure the template looks and performs well on mobile and desktop. If you’re on a PC, you can shrink your browser window down to see what it looks like on mobile.
- Accessibility: Select a template that follows standard modern web design principles. Does this template look like a website you would visit? Is it easy to use? It’s okay to be a little unique, but don’t select a template that’s so unique it scares people away because they can’t figure out how a menu works.
- Site Purpose: If you’re building an online store, you probably won’t want a template that’s meant for blogs. Find a template that’s suited to online stores. If you’re building a website for a manufacturing company, don’t use a template intended for preschools. Make sure your website has a clear goal and go with a template that meets your needs.
Hobbyist? If you’re just learning Joomla for practice or to build your first small website, you may not want to purchase a third party template. Instead, experiment with free templates or use the default template. There’s no sense in buying a template before you’re ready, as your needs may evolve while you learn more.
Free Templates
I have compiled a list of a few free templates for Joomla 4 that you can look at below. Note that some free templates have limited features, and you have to pay for the full version. I have tried to select templates that are 100% free and work well. I’ve tested them to make sure they all install properly in Joomla 4/5.
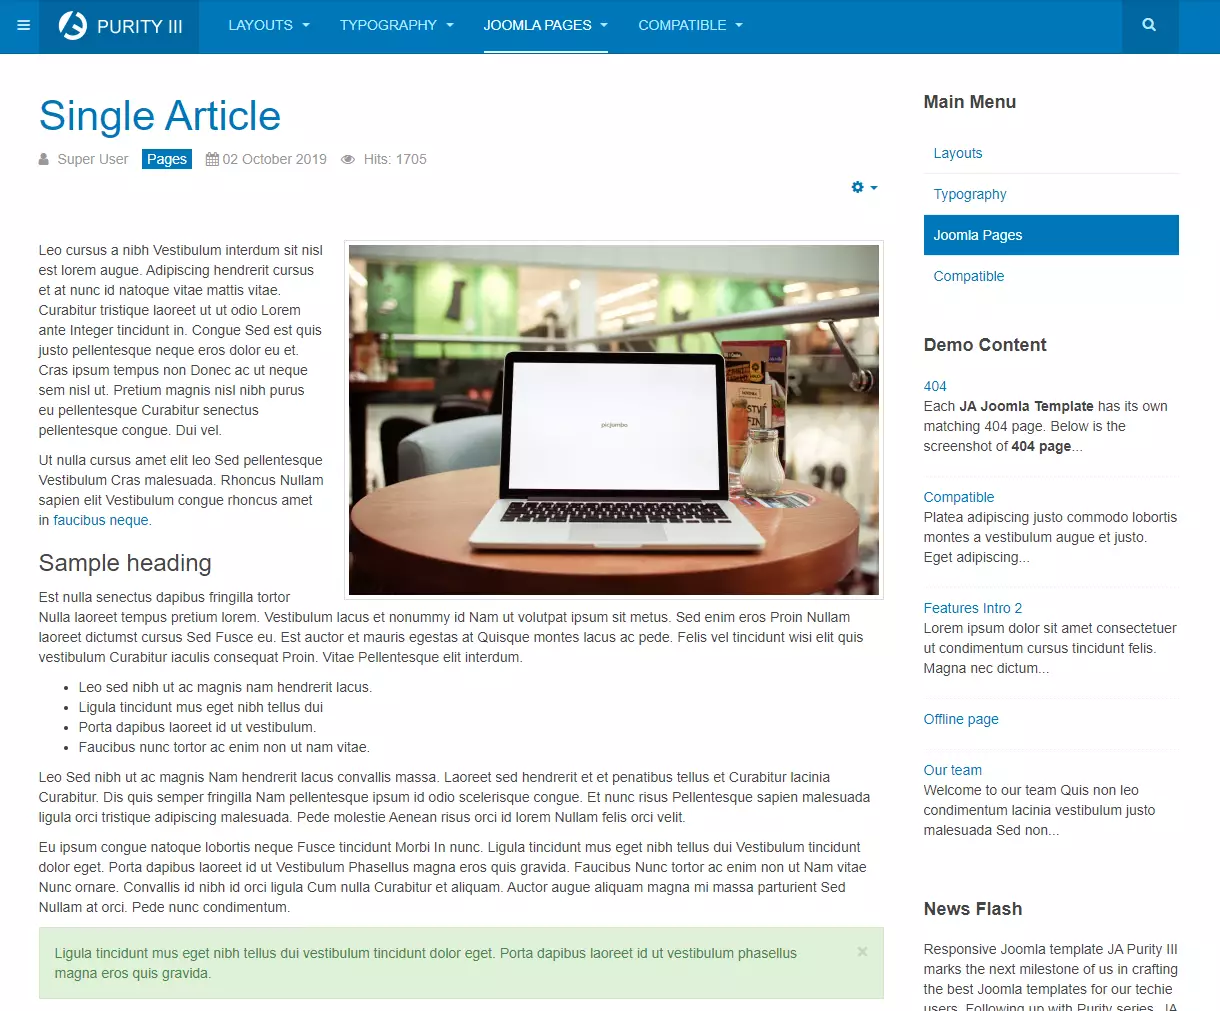
Purity III is a free template by Joomlart. They’ve been around for over a decade. Their documentation is great and they develop a number of popular Joomla extensions. I’ve used them before with good success. This is a nice, simple template with a few different color schemes that could be easily used for a large variety of different website types.
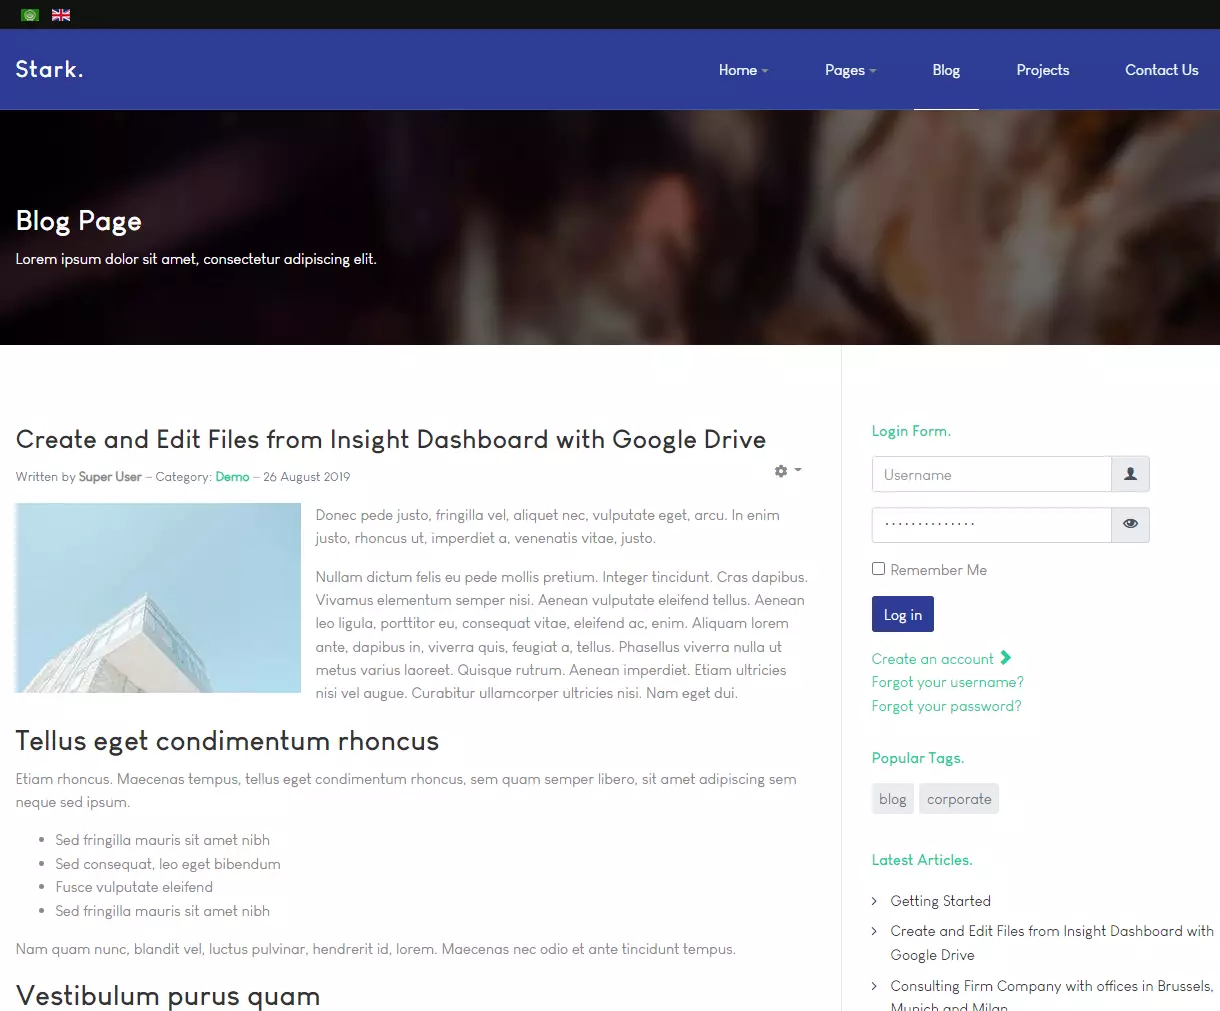
Another well designed template by Joomlart. This one’s designed for business purposes. It’s clean and professional looking. There are three default colors to choose from. The home page layout option has lots of features.
You must register to download.
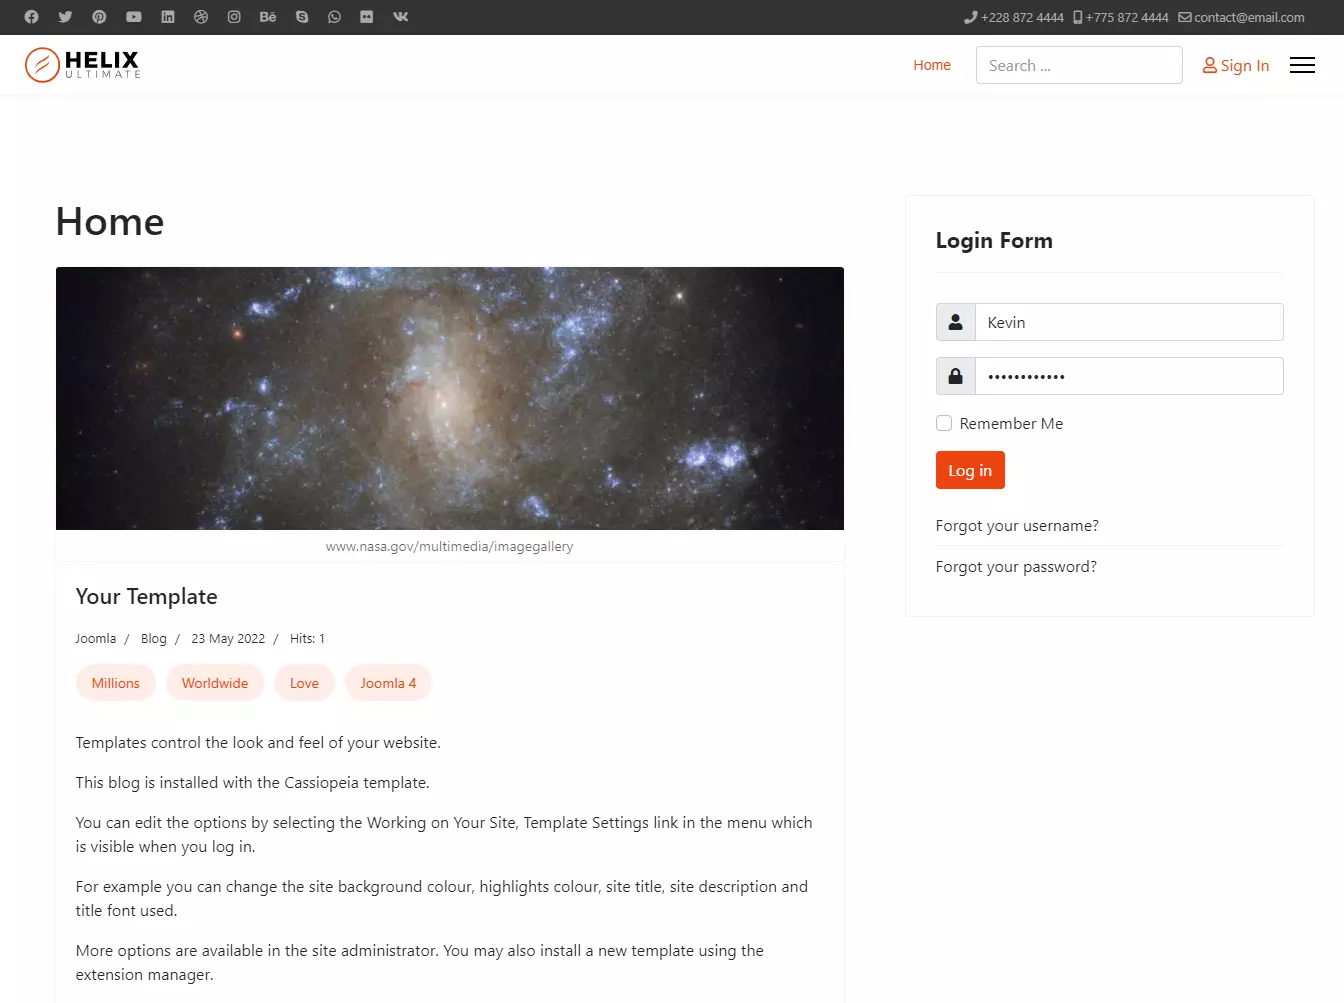
Helix Ultimate is a free template by JoomShaper. It’s a simple template with a lot of useful options to customize the colors, branding, logos, menus, and more. It’s pretty bare-bones, but could still work great for many purposes. This is the template/framework they base all their other, more advanced paid templates off of. Notably, it includes performance optimizations not usually found in free templates.
There’s also a free template I made called JoomCharta you can check out.
If you find any more nice free templates that are fully functional, let me know in the comments and I’ll add them to the list!
Paid Templates
Paid templates typically have more features than the free ones. They’ve usually got decent support and a large amount of documentation, so it’s relatively easy to get things looking exactly the way you need them to.
Most templates come with 1 year of free updates. If you want more than that, you usually have to subscribe or pay extra. The licenses will vary from template to template. Some templates only permit you to install them on one website, while others may let you install them anywhere.
The selection of good paid templates vastly outnumbers the amount of good free templates. If you’re looking for decent paid templates, I’d start by checking out one of the following studios:
Many template providers offer as subscriptions or memberships. You subscribe for a set price and get access to all their templates/updates for a limited amount of time. This is nice, as you can try out several premium templates for one fixed cost. If you don’t like one, you’ll probably still find one that’s good.
- RocketTheme – RocketTheme has been around for decades. I’ve used them in the past without issues. They likely have something that will suit your needs. Subscribe to all their templates for $60 quarterly or $100 annually.
- Joomlart – Like RocketTheme, they’ve also been around for a fair amount of time. I think their templates are more simplistic and clean looking than RocketTheme. You get access to their 60+ paid J4 templates for $90 annually.
- JoomShaper – $60 quarterly or $200 annually for access to their extensive collection of Joomla compatible templates. Try out the free Helix Ultimate template. If you like the general way it works, they might be for you.
Joomlart and JoomShaper also have well-designed page builders, which make designing feature packed home pages relatively easy.
For templates sold by themselves by individual developers or smaller teams, check out ThemeForest. This is a marketplace for people to sell their templates online. Currently, there’s about 150 templates listed for Joomla 4/5. Make sure you’re filtering by Joomla 4/5 templates. Prices per template range from about $20 to $75.
Custom Templates
The last option is to design your own custom template, or hire someone to do so. If you’re making a custom template yourself, you’ll need firm knowledge of HTML, CSS, and ideally a basic understanding of PHP and JavaScript. There are plenty of developers out there who can create custom templates for you. Note that designing and coding custom templates takes a substantial amount of time and knowledge. Proposals, wireframes, graphic design, and coding skills are all involved in the design/development process. You’ll likely be paying hundreds or thousands of dollars for a fully custom template that works well with your website.
Installing Third-Party Templates
Download Your Template Installation File
Before you can install an extension, or a template, you need to download it from the developer first. Find a template you like and download it. Usually, templates are in the format of a single zip file. We will upload this zip file to the server and it will install the extension. For this demonstration, I’m going to be installing the free JA Purity III template mentioned above.
If you’re going to follow along with me and install JA Purity, you need to register an account with Joomlart before they’ll let you download it. You want to make sure you download the template and plugin from the download page, NOT the quickstart package. The quickstart package contains an entire installation of Joomla. It’s for demonstration purposes. Here is a screenshot of the files you need to download.
Open The Extension Installer
All third party extensions (components, modules, templates, plugins, etc.) in Joomla are installed using the Extension Installer. From the administrator menu, select “System” and under the “Install” section select the “Extensions” option.
Note that there is also an “Extensions” option under the “Manage” section – you want the one under Install, not Manage.

Extension Installer
On the first tab of the extension installation page, there’s a button to upload the extension. Upload the zip file(s) for the template you downloaded. If you downloaded the JA Purity template, you have to upload both the plugin and the template for it to work.
If you downloaded a template from another source, you may or may not have to install additional plugins. Sometimes, the frameworks come bundled with the template installation zip file.

Upload The Installer Archive File
Once you’ve selected your file or dragged it into the upload area, it will begin uploading. This may take a few seconds. Do not leave the page, or the installation may fail. Wait for the page to update with a success or error message. Hopefully it will be successful.
You can only upload/install one extension at a time. If you have multiple files to install, you should upload them one at a time and wait for each one to finish before uploading the next.
Successful installation messages will vary by template/extension installed. The extension developers customize the installation messages.

Set The Template Style
Once you’re done uploading and installing the template, return to the template styles page discussed at the beginning of this guide and set the new template as your default.

View The New Template
Now, refresh your home page to see the new template in action!
Note that this template has a lot more feature than I’m currently utilizing. To make full use of the template, you must review the documentation from the developer, set your modules to the correct positions, and make changes to the template style configuration.
If you’re using Purity III, here’s the documentation from Joomlart.

Modify Style Settings
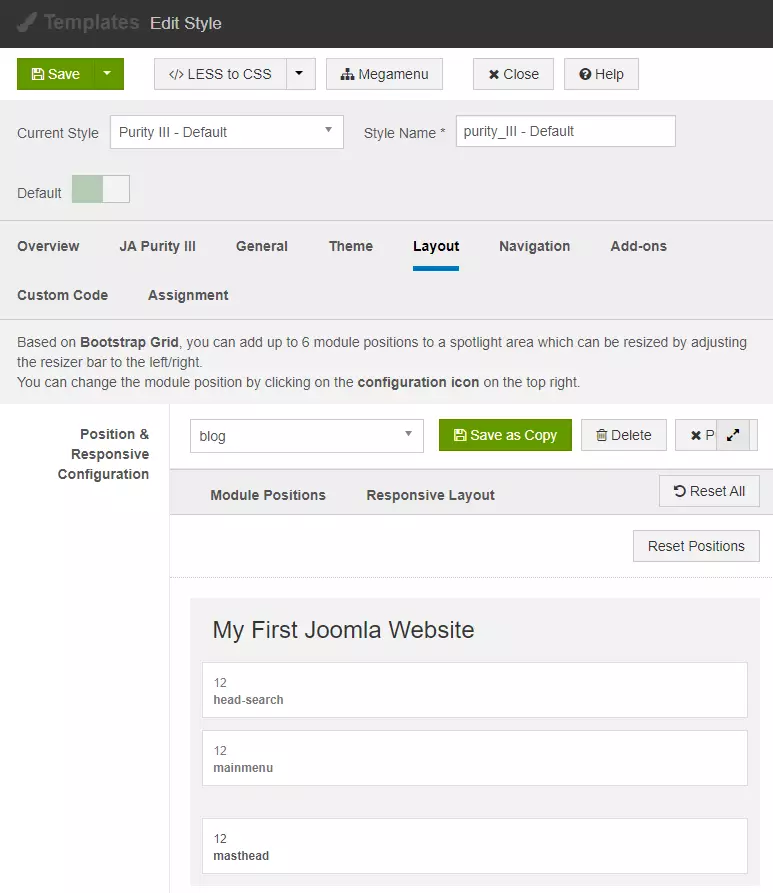
You can edit the template settings from the template styles page. Remember, all templates have different settings. As you can see, the settings for JA Purity III are entirely different from the settings of Cassiopeia. There are a lot more options regarding customization and layout.
You may have to make more advanced changes to module settings and menus for them to work properly with your new template. Always check the template developer’s documentation to learn what you need to do.
Conclusion
Congratulations, you’ve completed the series! Just kidding, there’s more to learn. But you should now have a firm grasp of how templates work.
- Key Takeaways:
- Templates provide the overall look and feel of a website
- Templates are configured as template styles. The template style settings contain the customizable fields for each template
- The options in each template style varies depending on what features the developer provides
- You must consult the template provider’s documentation for specific details on styling the template and positioning modules
For more information on what each module in Joomla does, check out the J4 Module Reference guide.
Assignment
Instructions: Using what you learned in this guide, change the style settings of your template to better suit the needs of your website, or your own personal tastes. Look at free third party templates and see if you like any of them. If so, try installing and configuring them. Remember to set your newly installed templates as the default under the style settings. Assign your modules to the proper positions.
